WordPress is a free and open source tool for developing websites. It has many features including a plugin architecture to add features and a template system for altering the style of a site. We have developed a suite of WordPress plugins to allow you to present your eHive object and account information within a custom WordPress website. WordPress is currently the most popular CMS in use on the Internet with hundreds of thousands of sites developed using it.
The eHive WordPress Plugins
A plugin is a piece of software which enhances another software application and usually cannot be run independently. A common example is web browser plugins which add additional features. Plugins are a key part of WordPress’ architecture. With plugins you can add a huge range of additional features such as contact forms, video support and website visitor analytics.
eHive’s support for WordPress is provided by a set of plugins covering key collection search and display functions. For example, the image grid plugin allows you to present an array of object images (like recent objects for example) from eHive within any WordPress page.
We provide a suite of WordPress plugins for eHive available to download and install on your WordPress site:
Plugins
- eHive Access – Admin plugin used for registering security credentials and configuring other general plugin options.
- eHive Account Details – A plugin for displaying eHive account information.
- eHive Object Comments – Enables users to add comments to Object Records from your site.
- eHive Object Details – A plugin for displaying Object Record detail pages.
- eHive Objects Image Grid – Displays a grid of images from eHive filtered by certain criteria.
- eHive Objects Tag Cloud – Displays a tag cloud from eHive.
- eHive Search – Allows you to search eHive.
Widget Plugins
- eHive Objects Gallery widget – Provides a gallery of Object Records that can be place in your sites widget areas.
- eHive Objects Tag Cloud widget – Allows you to display a tag cloud for a given eHive Account.
- eHive Object Tags widget – A widget that displays tags for an Object Record.
- eHive Search widget – A widget that provides search functionality by means of a simple widget.
Plugins are installed into the WordPress CMS via the administration section of your site. This feature is not available to WordPress accounts created through WordPress.com so be careful when creating WordPress site that it allows you to install 3rd party plugins if you would like to use the eHive plugins on your site.
When you install an eHive plugin or widget in WordPress you can configure its settings in the administration section of your site. These setting will allow you to control the data returned from eHive.
How To Install An eHive Plugin
- Step 1
- Step 2
- Step 3
- Step 4
- Step 5
- Step 6
- Step 7
- Step 8
- Step 9
- Step 10
- Step 11
- Step 12
- Step 13
- Step 14
 Step 1
Download the eHive WordPress plugins.
 Step 2
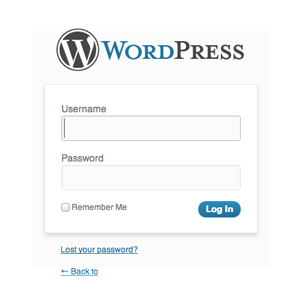
Log into your WordPress site.
 Step 3
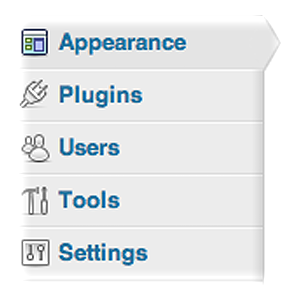
Click the Plugins option on the left hand menu.
 Step 4
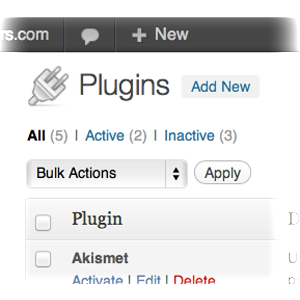
Click Add New at the top of the page.
 Step 5
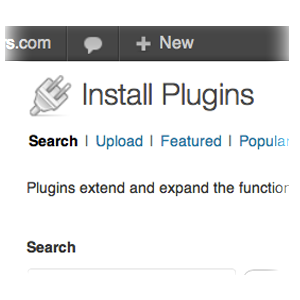
Click the Upload link just under the Install Plugins title.
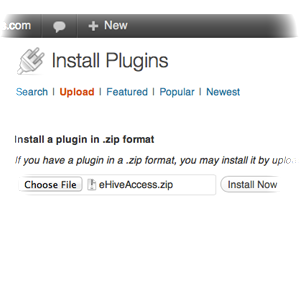 Step 6
Click the Choose File button and select a plugin to be installed. If this is the first eHive plugin you are installing then you will need to choose the eHiveAccess.zip in the file browser.
 Step 7
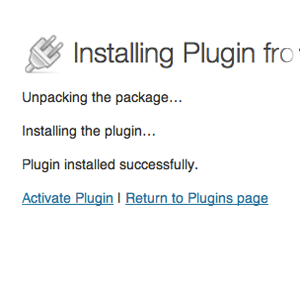
Click Install Now. If everything went well you will see some installation progress text appear.
 Step 8
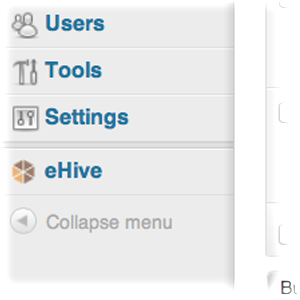
Click the Activate Plugin option which will direct you back to the Plugins page. You will now notice a new menu item appear at the bottom of your left-hand administration menu.
 Step 9
Click on the eHive menu option to bring you to the plugin options page.
 Step 10
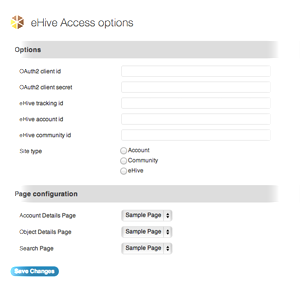
You are now ready to begin installing more eHive plugins and configuring them for your site.
Create a set of API Keys and copy your Client ID, Client Secret and Tracking ID into the relevant fields in the eHive Access options page.
 Step 11
Repeat steps 3 – 7 above, but this time select the eHiveObjectsImageGrid.zip in the file browser in step 6. You will notice that a new option, Objects Image Grid, appears under the eHive menu item on the left-hand side.
 Step 12
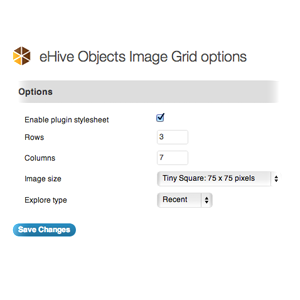
Click Objects Image Grid to bring up the plugin’s options page.
The plugin will have some default values already configured, but you can alter these to suit your needs. Now you will have to add the image grid to a page.
 Step 13
Edit or create a new page where you would like your image grid to appear. Once inside the page editor copy the following ‘short code’ into the editor
[ehive_objects_image_grid]
A ‘short code’ is WordPress’ way of telling a page to embed some content from a plugin.
 Step 14
Save and view your page. You should now see an image grid appear on the page.
For a full tutorial on each of the eHive WordPress plugins click on the relevant link below:
Install the eHive Access plugin
Install the eHive Account Details plugin
Install the eHive Comments plugin
Install the eHive Object Details plugin
Install the eHive Objects Image Grid plugin
Install the eHive Objects Tag Cloud plugin
Install the eHive Search plugin
Plugin Options
The eHive WordPress plugins allow users to customise a plugin’s functionality through editable fields on the plugin options page. These options can be altered to suit the users needs. If the options are not set then the plugins’ defaults will be used.
Options can be set directly in a WordPress ‘short code’ in the form of short code attributes.
Short Codes
Each eHive WordPress plugin has a ‘short code’. By pasting a plugins onto a page you are telling WordPress to embed the plugin’s functionality into your page. You can set options values directly in the short code by means of attributes. For example:
[ ehive_objects_image_grid some_attribute="attribute value" ]
Each plugin has its own short code documentation, which can be accessed from the ‘Help’ tab on the plugin’s options page. This documentation describes the available options and how to add them to a plugin’s ‘short code’ as attributes.
Page Configuration
Most of the eHive plugins require additional pages to be created for the plugin to work correctly. On the eHive Access Options page (shown in Step 8 above) there are three Page Configuration options. These pages are required for search results, Object Record detail views and Account detail views. This means that you will create three pages, each with a ‘short code’ corresponding to the functionality you wish to embed on the page. Then you select the page from the drop down list on the eHive Access plugin. You can read more about these page configurations and plugin dependencies in the individual installation guides listed above.
Site Types
You can customize your site as much as you like by adding eHive functionality as you need it. There are three main site types that the plugins support, Account, Community and eHive. Account and Community sites allow you to filter content so that Objects Records, displayed on you site, only come from a given Account or Community or combination of the two.
If you only wish to display Object Records from your own Account you can add your Account ID into the field provided and select Account in the Site type options. Your eHive Account ID can be found in the address bar when you navigate to your eHive Public Profile page. It is the number at the end of the webpage URL. The same applies when getting a Community ID from a Community profile page.
![]()