This plugin enables you to display an eHive Object Records details page containing all of the public Object Record fields. In order to use this plugin you will need to install the eHive Access plugin first before you can install the eHive Object Details plugin.
 Step 1
Download the eHive WordPress plugins.
 Step 2
Log into your WordPress site.
 Step 3
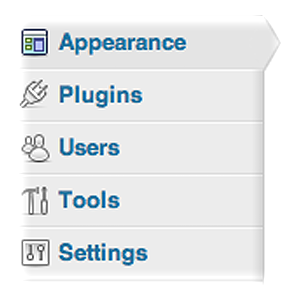
Click the Plugins option on the left hand menu.
 Step 4
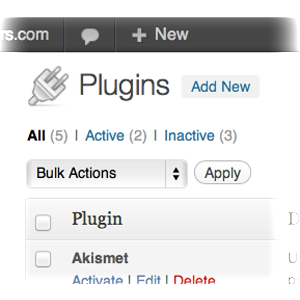
Click Add New at the top of the page.
 Step 5
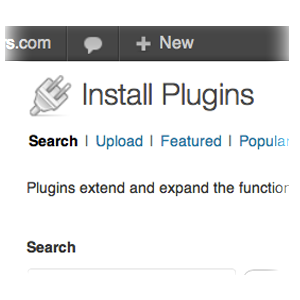
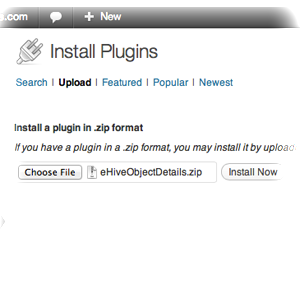
Click the Upload link just under the Install Plugins title.
 Step 6
Click the Choose File button and select a plugin to be installed. Select the eHiveObjectDetails.zip file in the file browser.
 Step 7
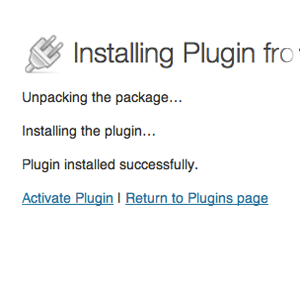
Click Install Now. If everything went well you will see some installation progress text appear.
 Step 8
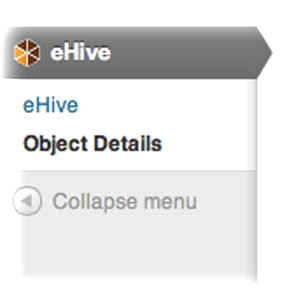
Click the Activate Plugin option which will direct you back to the Plugins page. You will now notice a new menu item appear when you click the eHive menu item at the bottom of your left-hand administration menu.
 Step 9
Click on the new eHive Object Details menu option to bring you to the plugin options page.
 Step 10
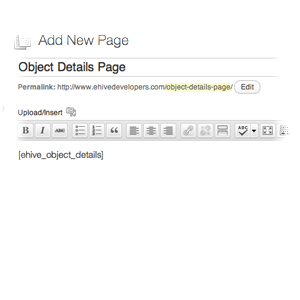
Edit or create a new page where you would like to display Object details. Once inside the page editor copy the following ‘short code’ into the editor
[ehive_object_details]
A ‘short code’ is WordPress’ way of telling a page to embed some content from a plugin.
 Step 11
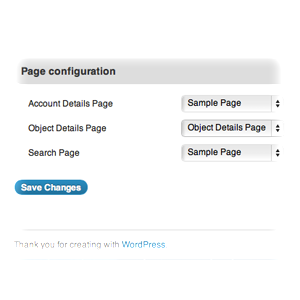
Save your page and navigate to the eHive Access options page. In the Page configuration section select the page you have just created from the drop down menu beside the ‘Object Details Page’ text.
When you have set up your page you can display an Object details page by appending the Object Record ID to the end of your web address path like so:
http://<your_website_address>/<name of your page>/<object_record_id>
(E.g. http://www.rugbymoments.net/object/75457)
When a link to an Object Record is clicked on a search results page or on an Explore page image the Object’s detail information will automatically open on your above-configured page. For this to work correctly you will need to ensure the plugins are installed and configured correctly. Finally, you will need to ensure the “Permalinks” setting in the WordPress settings menu is set to “Post name” .
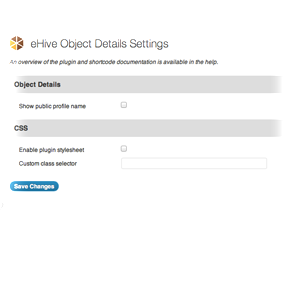
The Object Details plugin has two option on it’s option page:
- Show public profile name – This adds a link to the Object Details page that points to the Account that created Object Record.
- CSS – You can choose to enable or disable the default packaged CSS. You can also add your own custom CSS class to the Account detail view wrapper to add to the default CSS.