- Download the eHive WordPress plugins.
- Log into your WordPress site.
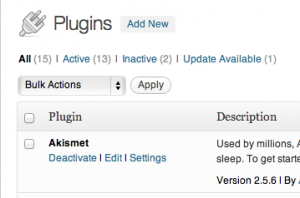
- Click the Plugins option on the left hand menu.
- Click Add New at the top of the page.
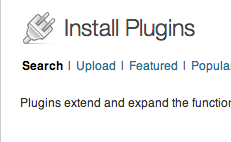
- Click the Upload link just under the Install Plugins title.
- Click the Choose File button and select a plugin to be installed. If this is the first eHive plugin you are installing then you will need to choose the eHiveAccess.zip in the file browser.

- Click Install Now. If everything went well you will see some installation progress text appear.
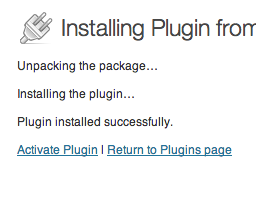
- Click the Activate Plugin option which will direct you back to the Plugins page. You will now notice a new menu item appear at the bottom of your left-hand administration menu.
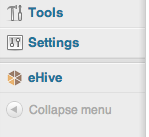
- Click on eHive to bring you to the plugin options page.
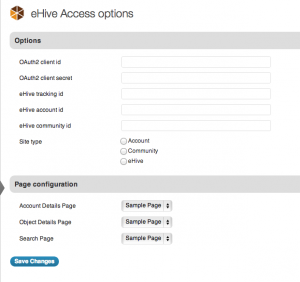
You are now ready to begin installing more eHive plugins and configuring them for your site. The next steps are:
- Create a set of API Keys and copy your Client ID, Client Secret and Tracking ID into the relevant fields in the eHive Access options page.
- Repeat steps 3 – 7 above, but this time select the eHiveObjectsImageGrid.zip in the file browser in step 6. You will notice that a new option, Objects Image Grid, appears under the eHive menu item on the left-hand side.
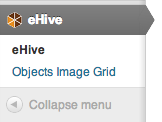
- Click Objects Image Grid to bring up the plugin’s options page.
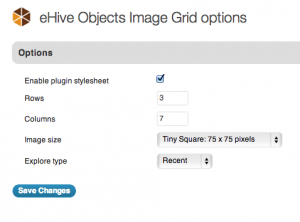 The plugin will have some default values already configured, but you can alter these to suit your needs. Now you will have to add the image grid to a page.
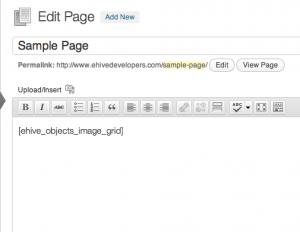
 - Edit or create a new page where you would like your image grid to appear. Once inside the page editor copy the following ‘short code’ into the editor
[ehive_objects_image_grid]
A ‘short code’ is WordPress’ way of telling a page to embed some content from a plugin.
- Save and view your page. You should now see an image grid appear on the page.
