The eHive Objects Search plugin embeds eHive search functionality into your website. Before you can use the Search plugin you will need to install the eHive Access plugin and install the eHive Object Details plugin first before you install the Search plugin.
 Step 1
Download the eHive WordPress plugins.
 Step 2
Log into your WordPress site.
 Step 3
Click the Plugins option on the left hand menu.
 Step 4
Click Add New at the top of the page.
 Step 5
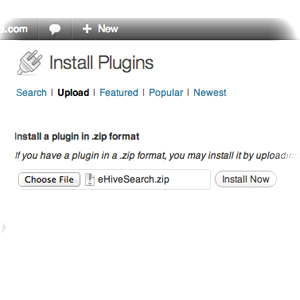
Click the Upload link just under the Install Plugins title.
 Step 6
Click the Choose File button and select a plugin to be installed. Select the eHiveObjectsSearch.zip file in the file browser.
 Step 7
Click Install Now. If everything went well you will see some installation progress text appear.
 Step 8
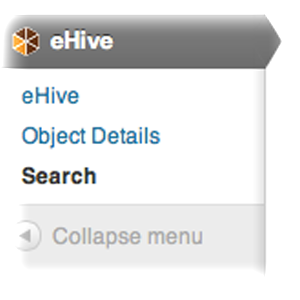
Click the Activate Plugin option which will direct you back to the Plugins page. You will now notice a new Objects Search menu item appear when you click the eHive menu item at the bottom of your left-hand administration menu.
 Step 9
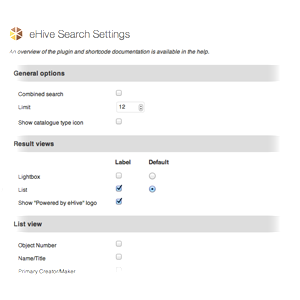
Click on the new eHive Account Details menu option to bring you to the plugin options page.
 Step 10
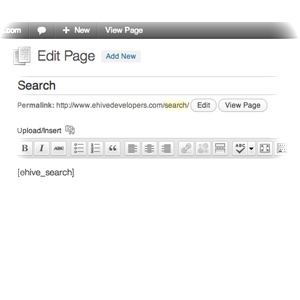
Edit or create a new page where you would like to display the Objects Search results. Once inside the page editor copy the following ‘short code’ into the editor
[ehive_search]
A ‘short code’ is WordPress’ way of telling a page to embed some content from a plugin.
 Step 11
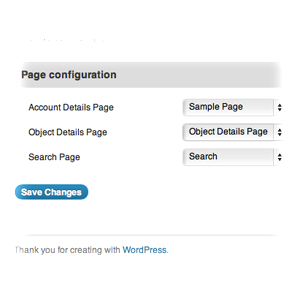
Save your page and navigate to the eHive Access options page. In the Page configuration section select the page you have just created from the drop down menu beside the ‘Search Page’ text.
After you have installed the plugin you can configure it using the plugin options page.
- General options – These options allow you to configure general properties related to search such as the number of results per page, whether it use a combined search or whether or not you display a small icon with every result showing the catalogue type of the Object Record returned.
- Results view – This is the way in which the search results appear on the search page. The lightbox view shows a grid of images with search summary information displayed beneath each result. The list view option displays the results with a smaller image and with the search summary information to the right of the image. You can choose to display both and a link with be added to the search results page so that your users can easily switch between the view. You may also select a default view to display.
- List view – You may add any number of the provided fields to be displayed in the summary information of your search results.
- Lightbox view – You may add any number of the provided fields to be displayed in the summary information of your search results. You can add your own custom field label for any of the fields you with to display in you lightbox summaries.
- CSS – You can choose to enable or disable the default packaged CSS. You can also add your own custom CSS class to the Objects Search wrapper to add to the default CSS.